Extended ISO
The following examples refer to the results of examining the behavior of still photos of the Nikon Z6 (Firmware 3.6) at 14-bit uncompressed RAW 6048 x 4024 developed in Capture One 16.3.2.32 and RawDigger 1.4.7 on macOS Sonoma 14.1.2.
Highlight RecoveryTo achieve the same light quantity, shutter speed was adjusted accordingly by half step increments. Looking at highlights outside the window, we can see ISO 400, 200 and 100 preserve the same amount of detail when pulling down exposure by 4 stops in Capture One. Extended ISO 50 ‘Lo 2.0’ shows clipping at around 1 stop earlier as seen in the lower right hand image, cutting a significant amount of dynamic range.

Note the lack of detail blown out around the house roofs, not simply the lower white point.
It would be easy to conclude now that Extended ISO has no benefit, but we must now consider noise levels in the shadows.
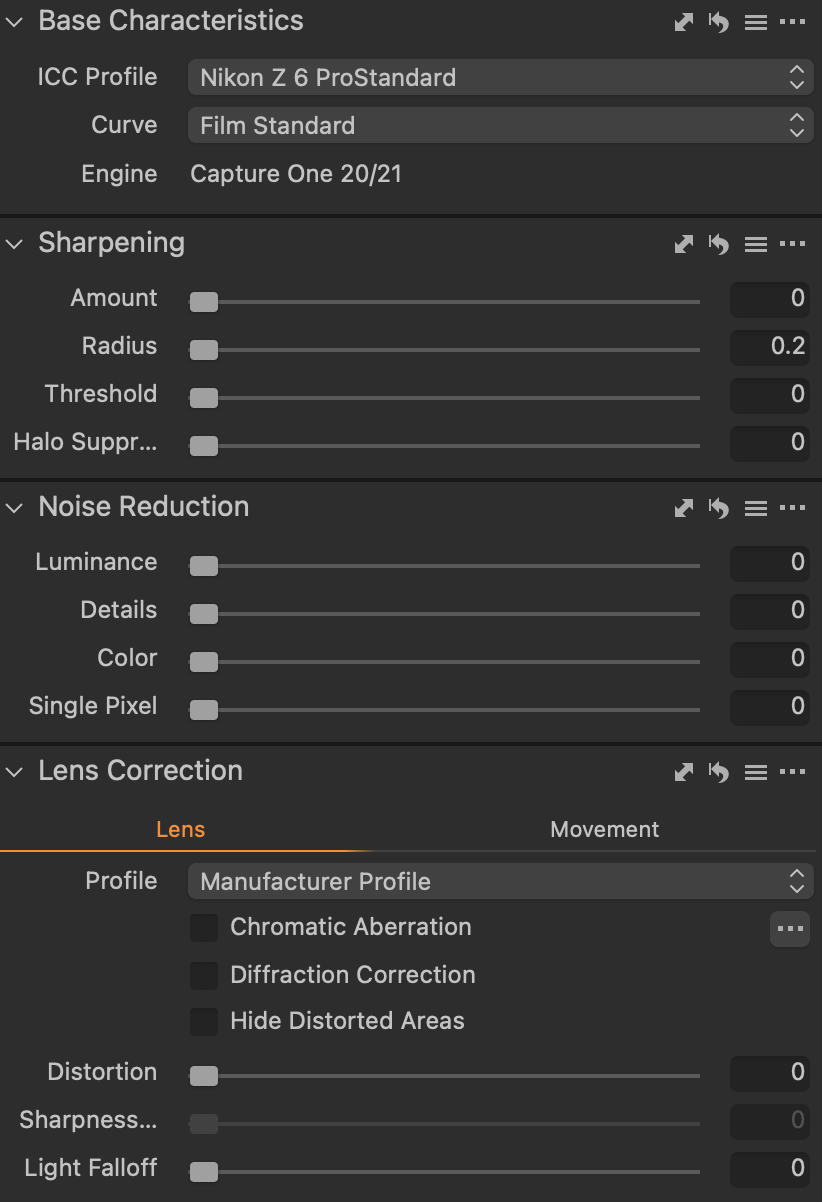
Shadow RecoveryFirst we must completely disable Sharpening, Noise Reduction and Lens Correction in Capture One to achieve an unaltered RAW file (Base Characteristics must be applied; the Nikon Z6 ProStandard ICC Profile and Film Standard Curve were chosen).
After rising exposure by 4 stops the shadow noise difference between Extended ISO 50 and even ISO 100 is significant.

Conclusion1) Pushing and pulling an image by + /- 4 EV is not practical in real world terms and a photo is generally considered incorrectly exposed if such edits are necessary, therefor these examples are issued more to illustrate a point. That said, also in the real world are times where a client enjoys a photo even though it’s rather under/overexposed and you must do whatever it takes to recover it because the scene content itself is captivating. In these scenarios you’ll take every bit of dynamic range / low noise headroom as one can get.
2) Images are not viewed at 400% zoom, so even though noise levels seem significant at these magnified levels, they are all but indistinguishable from each other while viewing scrolling through your phone at 100%.
3) Go take a meaningful photo.
24p, 30p and 60p content in a 120fps file
Issue: All but recent televisions in North America refresh at a maximum rate of 60 frames per second. This is not an issue for 30fps content because each frame is multiplied by 2 and 60fps content is of course already native. But what about 24? 60 is not evenly divisible by 24, so frames are unevenly displayed creating a faint but noticeable stuttering artifact.
Artistic view: Each frame rate has its place. 24fps is aesthetically linked to modern day cinema, with many arguing that the lack of information per seconds allows our mind to fill in the blanks and immerse ourselves deeper in the story. 60fps is smooth and lifelike, perfect for sports and news broadcasts where we want to as if we were standing in the stadium with the players. And 30fps often being used when a device can't display 60fps due to processor or bandwidth restraints. 120fps being a further twice as smooth as 60fps, or in other words that much more faithful to real life.
120fps file: DaVinci Resolve 18.5.1 (though not Final Cut Pro 10.6.8) supports the editing and export of 119.88 [fractional] and 120fps files. For the Apple ecosystem we have ProMotion 120Hz Displays in the iPhone 14 Pro, MacBook Pro 14/16” M1/2 and iPad Pro M1/2. Note - though macOS Sonoma and iOS 17 can in theory play 120fps video at native 120Hz, by default they both playback in slow motion because most if not all 120/240fps records are stylistically used for slow motion. YouTube as well has a maximum playback rate of 60Hz (not including playing at 2x which is not the effect we’re after).
Solution: Many new 4K televisions as well as the Apple devices mentioned refresh at 120Hz, which is evenly divisible by 24, 30 and 60. These equal divisions allow for the possibility of multiple frame rates within one file to play correctly without unevenly dropping or multiplying frames.
Why? Top Gear (original UK version) is the only show I’m aware of that created two different looks within one file: Using MBAFF a smooth 1080i50 (BBC is PAL 25/50fps) for the hangar interview scenes so the television audience can feel like they’re live in the studio. And 1080i25 for a more cinematic look during the movie segments. The result were incredible and now in 2023 we have the potential for 4K HDR to weave between 24p and 120p footage seamless if we choose to code our applications to do so. Additionally, HEVC and AV1 codecs are intelligent enough with B-Frames to tell an encoder to simply repeat a frame multiple times using markers instead of treating each as a different frame, savings 5x the space versus an intra-frame system.
SD card marking
Bus InterfaceSD = 12.5MB/sSDHC = 25MB/sUHS-I = 50MB/sUHS-II = 156MB/s Full Duplex or 312MB/s Half DuplexUHS-III = 312MB/s Full Duplex or 624MB/s Half DuplexSD Express PCIe 3.0 x1 = 1GB/sSD Express PCIe 3.0 x2 = 2GB/sSD Express PCIe 4.0 x1 = 2GB/sSD Express PCIe 4.0 x2 = 4GB/sSpeed ClassV90 = 90MB/s minimum writeU3 = 30MB/s minimum writeClass 10 = 10MB/s minimum writeBus speed reference:SATA III SSD = 750MB/sPCIe 3.0 x4 M.2 = 4GB/sPCIE 4.0 x4 M.2 = 8GB/sNikon Z6 Firmware 3.6

Added support for MC-N10 grip
Useful for manual adjustments when camera is on gimbal.

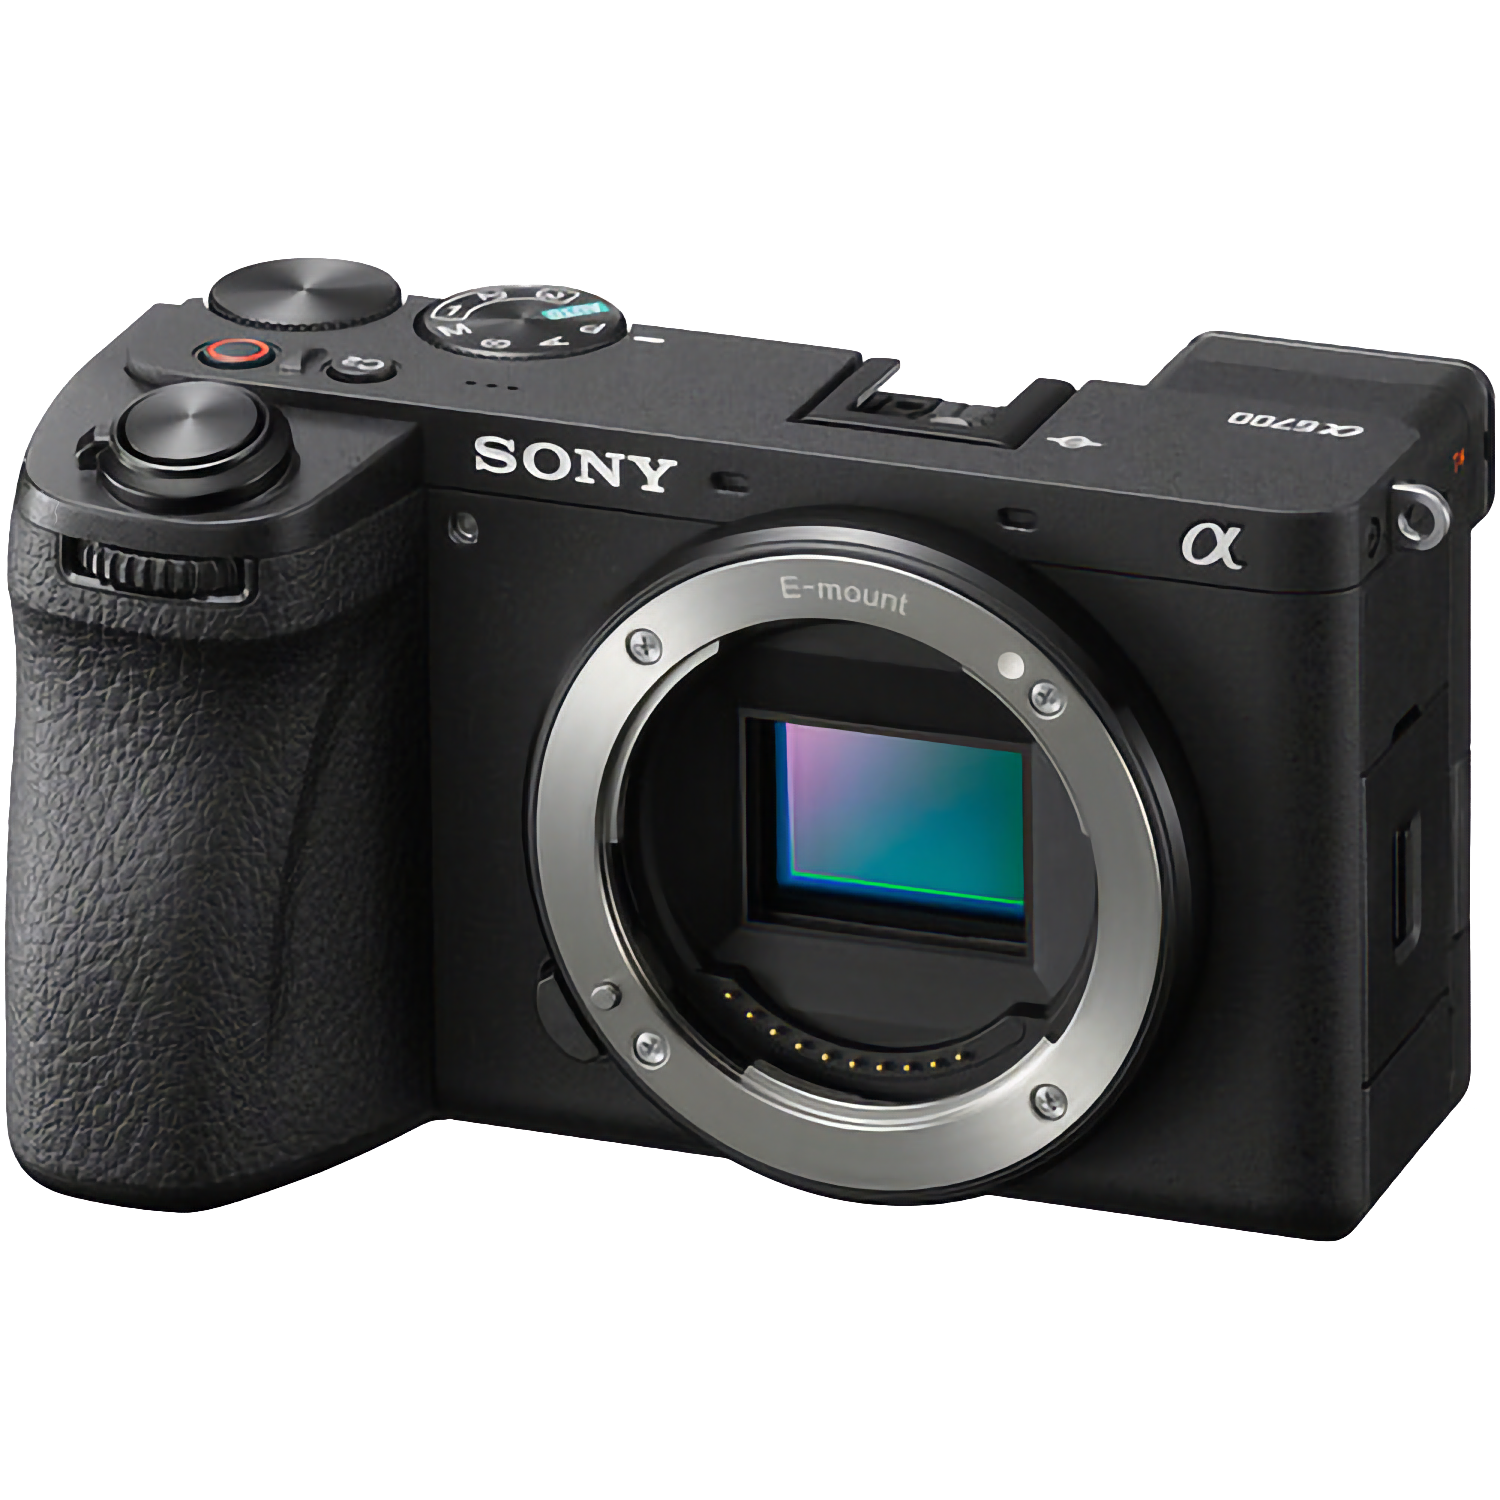
SONY A6700 released
$1400
$1500 16-50mm 3.5 - 5.6
$1800 18-135mm 3.5 - 5.6
26MP Exmor R APS-C BSI CMOS
BIONZ XR
759-Point Phase Detect, 93% coverage
6K oversampling 4K60, 4K120, 10-bit 422
2.36 MP OLED Viewfinder, 3” 1.0 MP LCD
With a savings of $400, a viewfinder and a smaller body, the A6700 will likely outsell the FX30 by a decent margin. Though noticeably lacking is 24-bit audio, RAW out and full size HDMI.
Z6 1.4 lb 5.3 x 4 x 2.7”
FX30 1.2 lb 5.1 x 3.1 x 3.3”
A6700 1.1 lb. 4.8 x 2.7 x 2.5”